


How to lay natural stone paving
Published on August 12, 2022
Posted in How To
by MKM
2 min read
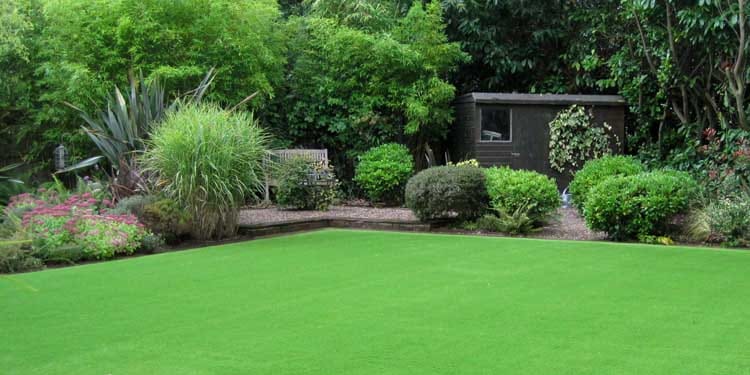
Indian sandstone and other natural stone paving gives a classic & rustic look to your garden
Classic Indian sandstone is a durable and stylish choice for outdoor spaces and gardens. The key to maximising the impact of the stone and create a perfect patio, is to get every installation step just right. Laying it perfectly is simple and easy to do with the right tools.
We have teamed up with Mario, owner of Stirling-based B Gardens Limited, to create this easy-to-follow step-by-step guide. You can also view our YouTube video here: LINK
Step 1: Prepare your base
Once the groundworks have been prepared, use 150mm to 200mm of Type 1 base and then compact down with a compactor plate.
Step 2: Layouts
Lay out your paving slabs for the job first before installing if you can. Look at the pattern and see how the joints are going to line up. Natural sandstone can sometimes be tricky because the product tolerances can have a 3cm to 5cm difference. Laying it out ahead of time will save you a job trying to reorder your paving.
Step 3: Mixing your mortar
Add a mortar base of 4:1 sand to cement. The mix needs to be of slightly wet consistency.
Step 4: Priming your slabs
Priming is important with natural stone product as the backs are very smooth, using a primer will allow adhesion onto a full mortar bed. Use a brush or roller to apply the primer to cover the back of the slab before laying.
Step 5: Cutting your slabs
Cutting Indian sandstone is fairly easy. We recommend using a small blade to be close to the stone to get a straight line, using professional markers to measure and keep straight.
Step 6: Laying your slabs
Lay natural sandstone on a full mortar bed. By doing this, it will allow much better suction and the mortar bed will be a lot firmer. Bed the slabs down into the mortar using a rubber mallet, using a spirit level to checks levels and allowing an adequate fall for run off.
Step 7: Sealing
The last step is sealing the paving, the reason for this is that natural stone is much more porous than alternatives, so it’s needed to protect it from moss and algae. Use a jointing compound to finish by brushing it into the gaps between the slabs and brushing off any excess.
Tools for the job - all available to your nearest MKM:
- Indian sandstone pavers
- Type 1 base
- Freshly mixed mortar (sand, cement and water)
- Slurry Primer
- Measuring tape
- Rubber mallet
- Grinder
- Spirit level
- Brush
- Jointing compound
Explore our range of natural stone and Indian sandstone online today.