


How to Install Plasterboard: The Complete Guide
Published on May 14, 2026
Posted in Advice & Reviews
by MKM
6 minutes min read
How to Install Plasterboard: The Complete Guide
Plasterboard is a core material on almost every modern build, used to create internal walls, ceilings and partitions quickly and efficiently. From new builds to refurbishments, it offers a fast, reliable alternative to traditional wet plaster systems.
Siniat plasterboard systems are designed to simplify installation while meeting UK building regulations for fire, acoustics, moisture and thermal performance. But even with the right products, getting the installation right is what ensures a clean finish and long-term durability.
This guide walks through how to install plasterboard properly, covering preparation, fixing methods and finishing, with practical advice based on Siniat system guidance.
What Is Plasterboard?
Plasterboard is a gypsum-based board used to line internal walls and ceilings. It consists of a solid core sandwiched between paper layers, giving it both strength and a smooth surface ready for finishing.
In modern construction, it’s typically fixed to timber studwork, metal framing systems, masonry walls or ceiling joists. Compared to traditional plastering, it speeds up installation and allows for more consistent results across large areas.
Siniat systems build on this by offering boards designed for specific performance requirements, meaning you can tailor your installation to the needs of the space.
Types of Plasterboard
Not all plasterboard performs the same, which is why Siniat manufactures a range of boards for different applications.
Standard wallboard is used for general drylining in areas where no specialist performance is required. For rooms exposed to moisture, such as bathrooms and kitchens, Siniat Moisture Board offers improved resistance to damp and mould.
Where fire protection is a concern, Siniat Fire Board is designed to slow the spread of fire and help meet building regulations. For projects where noise transfer is an issue, such as flats or partition walls, acoustic boards like Siniat dB Board provide improved sound insulation.
Thermal plasterboards combine plasterboard with insulation backing, helping improve energy efficiency, particularly on external walls or in refurbishment projects.
Choosing the right board at the start makes installation easier and ensures the finished system performs as expected. Speak to your local MKM branch for more information on choosing the right plasterboard for your project.
Tools and Materials Needed
Before starting, it’s important to have the right tools ready. A plasterboard knife or saw is needed for cutting, along with a tape measure and straight edge to mark out accurately. Fixing is usually done with a screw gun or drill, using plasterboard screws suited to the board thickness.
You’ll also need jointing tape and compound for finishing, as these are essential for creating a smooth, crack-free surface once the boards are installed.
Preparing Walls Before Installing Plasterboard
Preparation is one of the most important stages of the job. If the structure behind the plasterboard isn’t right, the finish won’t be either.
Studwork should be installed correctly and spaced at appropriate centres, typically up to 600mm depending on the system. It’s also important to make sure any services, such as cables or pipework, are already in place before boarding begins.
In insulated walls or areas prone to moisture, you may also need to consider a vapour control layer. Products like Siniat Vapour Board can help prevent condensation forming within the wall structure, which is especially important in modern airtight buildings.
Step-by-Step: How to Install Plasterboard
Measure and cut the boards
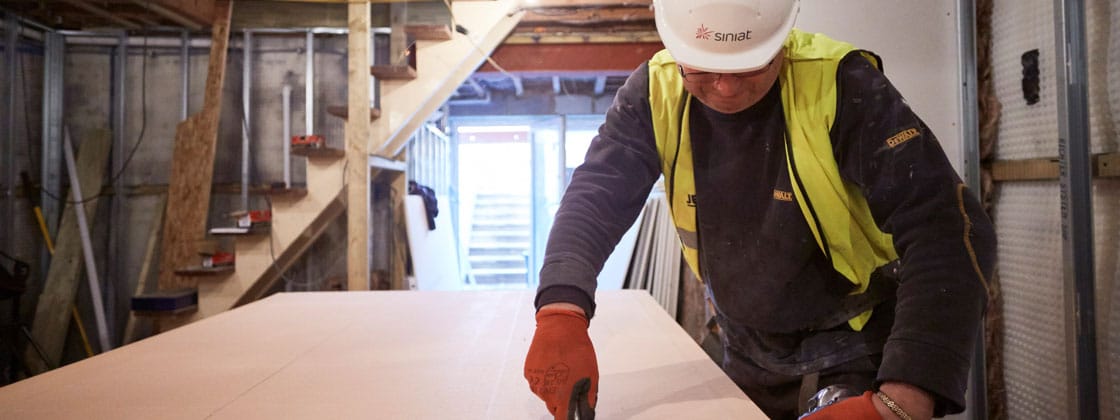
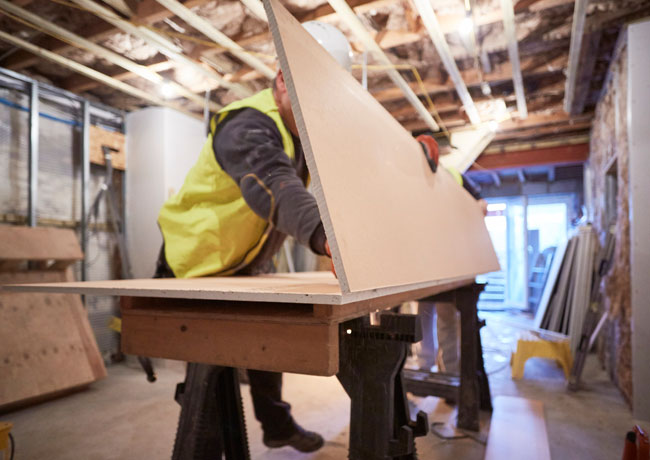
Start by measuring the space carefully and marking your cut line. Plasterboard is usually cut by scoring the face with a knife, snapping it along the line and then trimming the backing paper. This method is quick, accurate and keeps dust to a minimum.
Fixing plasterboard to stud walls
Once cut, the boards are fixed to timber or metal studs using drywall screws. The screws should be long enough to securely penetrate the framing, and spaced evenly along each stud.
It’s important to drive screws just below the surface of the board without tearing the paper. This ensures a solid fixing while keeping the surface ready for finishing.
Installing plasterboard on ceilings
Ceiling work is similar but requires a bit more care due to the weight of the boards. Boards are fixed to joists or battens, which are usually installed perpendicular to the structure above.
Running boards across the joists improves strength and reduces the risk of sagging over time. In most cases, using a second person or a board lifter will make the job much easier and safer.
Fixing plasterboard to masonry walls
When working with solid walls, plasterboard is typically installed using a drylining method. The most common approach is dot and dab, where adhesive is applied directly to the wall and the board is pressed into place.
Alternatively, boards can be mechanically fixed using specialist fixings, or installed onto an independent metal frame if the wall is uneven or requires additional insulation.
Plasterboard Layout and Positioning
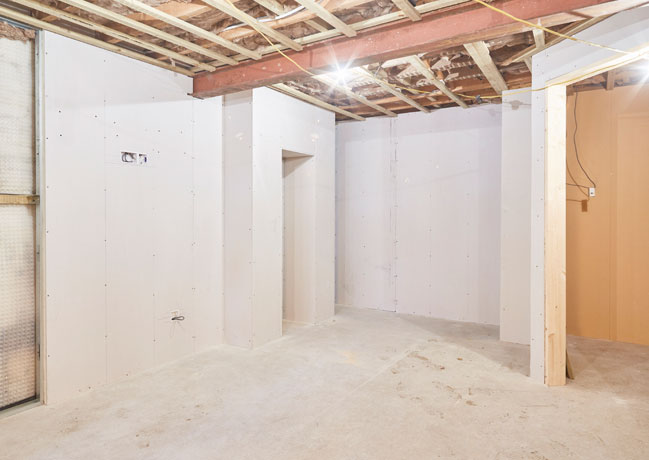
Getting the layout right makes a big difference to both strength and finish. Boards are generally installed horizontally so that joints fall on studs, reducing the number of seams that need finishing.
It’s also important to position the board correctly. The coloured paper face should always face outward, as this is the side designed for plastering or jointing.
Finishing Plasterboard
Once the boards are fixed, the joints need to be finished before decorating. This involves applying joint tape over all seams, followed by layers of joint compound.
Each layer should be allowed to dry before sanding smooth. Taking the time to do this properly ensures a clean, professional finish and helps prevent cracks from appearing later.
Do You Need to Plaster Over Plasterboard?
Plasterboard can be finished in different ways depending on the project.
A full skim coat of plaster can be applied directly onto the boards once the joints are taped. Alternatively, taping and jointing alone can be used to create a smooth finish ready for painting.
Unlike traditional backgrounds, plasterboard has relatively low suction, so applying PVA before plastering is usually unnecessary.
Common Plasterboard Installation Mistakes
Many issues with plasterboard come down to small errors during installation. Poor preparation, incorrect screw depth or rushed finishing can all lead to visible defects.
One of the most common problems is skipping or poorly applying joint tape, which often results in cracking along seams. Uneven sanding or applying too much compound can also affect the final finish.
Taking the time to follow proper installation steps will always pay off in the long run.
Plasterboard Installation Systems
Siniat offers a range of drylining systems designed to suit both new builds and refurbishment projects. These include direct bond systems for masonry walls, mechanical dryliner systems and independent wall linings.
For ceilings, boards can be fixed directly to timber structures or used within suspended MF ceiling systems. Metal stud partitions are also widely used for creating internal walls quickly and efficiently.
Using a complete system rather than mixing components helps ensure performance, compliance and ease of installation.
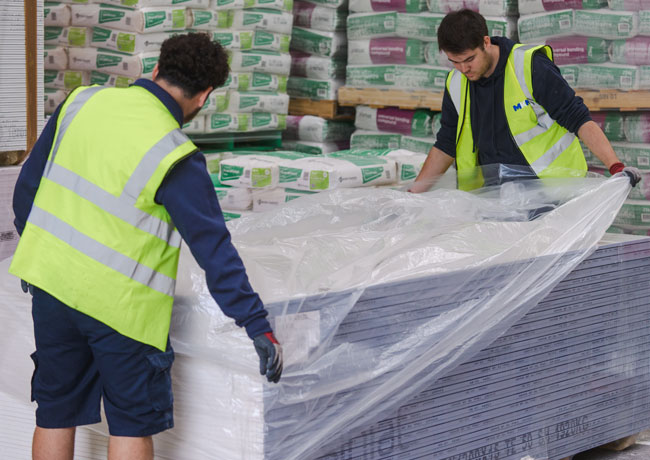
At MKM, we stock a full range of Siniat plasterboard and drylining systems, giving you everything you need for a professional finish.
Whether you’re working on a quick install or a full build, our local teams can help you choose the right boards and system for the job.
Visit your local MKM branch or shop online to get started.
FAQ: Plasterboard Installation Questions
What screw spacing for 12.5mm plasterboard?
Screws are typically spaced at a maximum of 300mm centres along studs.
Do you run plasterboard with or across joists?
Boards should be installed across joists or battens to improve strength and support.
Do I need joint tape if I’m not plastering?
Yes, joint tape should always be used to prevent cracking, even if you’re not applying a skim coat.
Do I need a vapour barrier behind plasterboard?
In many cases, yes—particularly in insulated walls or areas exposed to moisture.